tania:
Flour on the table, 'snakes' of fresh dough and quick movements with a table knife: that is exactly the picture I remember of my Italian Nonna making...
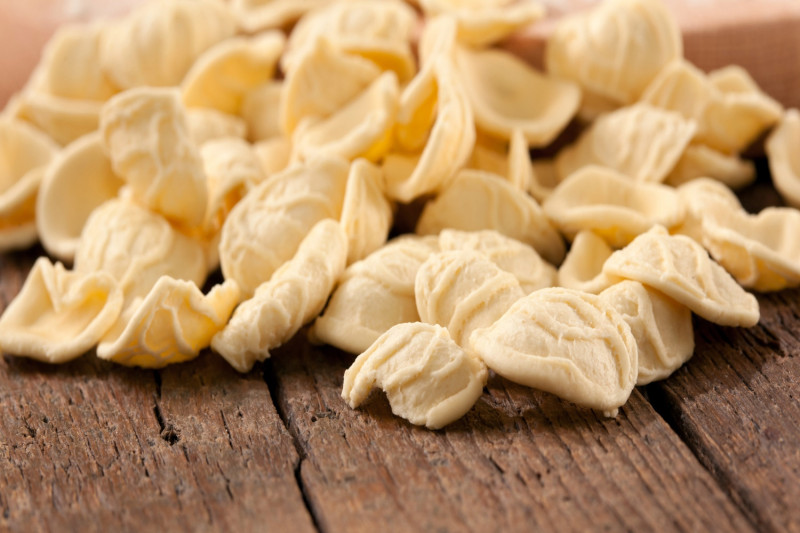
Embark on a rewarding culinary adventure by mastering handmade orecchiette, a beloved pasta from the heart of Southern Italy. This cherished recipe, perfected by generations of Italian nonnas, hails from the sun-drenched region of Puglia, where making orecchiette is both tradition and art.
Stroll through the winding streets of a Pugliese village, and you’re likely to spot skilled hands deftly shaping these little ‘ears’—so named for their unique, concave form. While their technique comes from years of loving repetition, even beginners can achieve delicious results with a bit of patience and practice. The texture of orecchiette is perfect for cradling rich sauces, making this pasta an irresistible centerpiece for your next Italian meal.
If you crave more authentic Italian pasta experiences, explore our extensive Pasta Recipe Index brimming with classic and modern creations. And don’t miss our Sauce Recipe Collection for flavorful pairings to elevate your handmade noodles.
Hungry for more inspiration? Subscribe to the Mamablip newsletter for the latest on regional Italian recipes, expert wine picks, and extraordinary culinary travel ideas!
IngredientsTry it with...
Preparation
for 4 servings
Step
1
Of 3
Arrange the semola flour on a clean work surface in a classic well shape. Gradually pour water into the center, and use a fork to gently draw flour into the liquid with circular motions, forming a soft dough.
Once the water is fully absorbed, drizzle in the extra-virgin olive oil. Blend and knead the mixture with your hands, focusing on your fingertips to maintain a gentle touch and a smooth, consistent texture.
Continue kneading until the dough is elastic and supple, then shape it into a ball. Wrap in plastic wrap and let it rest for 15 minutes—this allows the gluten to relax, making the dough easier to shape.
Step
2
Of 3
After the dough has rested and become pliable, break off medium-sized portions. Roll each portion into ropes about the thickness of your finger.
Cut each rope into segments roughly 1cm wide. Using a blunt kitchen knife, press and drag each small piece across your work surface to form the classic concave shell shape.
Take each piece and flip it over your thumb, curling the edges back to create the signature orecchiette appearance. Repeat until all dough is transformed into beautiful little pasta disks.
Step
3
Of 3
You can store your freshly made orecchiette in the refrigerator inside an airtight container for several days, or cook them right away for peak freshness.
To prepare immediately, spread the orecchiette on a generously floured tray and let them dry at room temperature for at least 30 minutes. Boil them in a large pot of salted water for 7-8 minutes, or until they reach your preferred texture.
Serve hot, tossed with your favorite sauce or traditional accompaniments like broccoli rabe and sausage.
Try it with...
Filippo Bartolotta
...Great Italian Goodies!
tania Tuesday 13th of April 2021
Orecchiette at home, what an amazing memory!
Flour on the table, 'snakes' of fresh dough and quick movements with a table knife: that is exactly the picture I remember of my Italian Nonna making orecchiette on a Sunday morning during the holidays. I now love making them for my family